So in our
Nautical Nursery for our baby girl we wanted to keep costs low. We splurged on a beautiful crib & even after splitting the costs with our mothers, it was more than we would have liked to have spent so we wanted to make up for it in the rest of the room. In the last post, I talked about the
changing table remodel from the old double dresser we found in a garage. It wound up matching the crib perfectly, so I tried to get the same effect on a taller dresser that we were putting in the
nursery. The dresser we put in there was a dresser that Steve's dad built for him & was in his room when he was little. It was a light brown then. When Addy was born, we painted it white to match
Addy's nursery. I had bought some adorable painted owl knobs for it. However, once we inherited my grandmother's furniture when we
updated the guest room, we realized that we had ALOT of furniture & the guest room is pretty small. So as you saw in the
post about our updates, we put a double dresser, nightstand & bed in the room. That left us with another nightstand & a tall dresser. Since we moved Addy up to her big girl bed, we decided that she needed a big girl nightstand & that she might as well have the tall dresser to match. So we were able to move her old white dresser over to
Peyton's nursery.

Here is the white dresser with the knobs removed. Since we had changed our plans from the white furniture to the grey furniture, I had to come up with a plan to renovate this dresser. Luckily, I did this project after I
redid the double dresser for the changing table so I had a good idea of what to do.
I painted the dresser grey & then got to work with the glazing, using the same Valspar glaze that I used on the
changing table & on some of my other
DIY projects.
Here is a close-up pic of the glazing.
Here is a close-up of the finished dresser before putting the knobs on. Speaking of knobs, I couldn't figure out what to do for these. I saw some really cute ideas different places, but everything seemed too expensive or too difficult to DIY (and you know I love a good
DIY). I just couldn't find anything that I loved. One day at Hobby Lobby, I saw these knobs that looked like shells. They were $3.99 & then half off that week, so that helped make my decision.
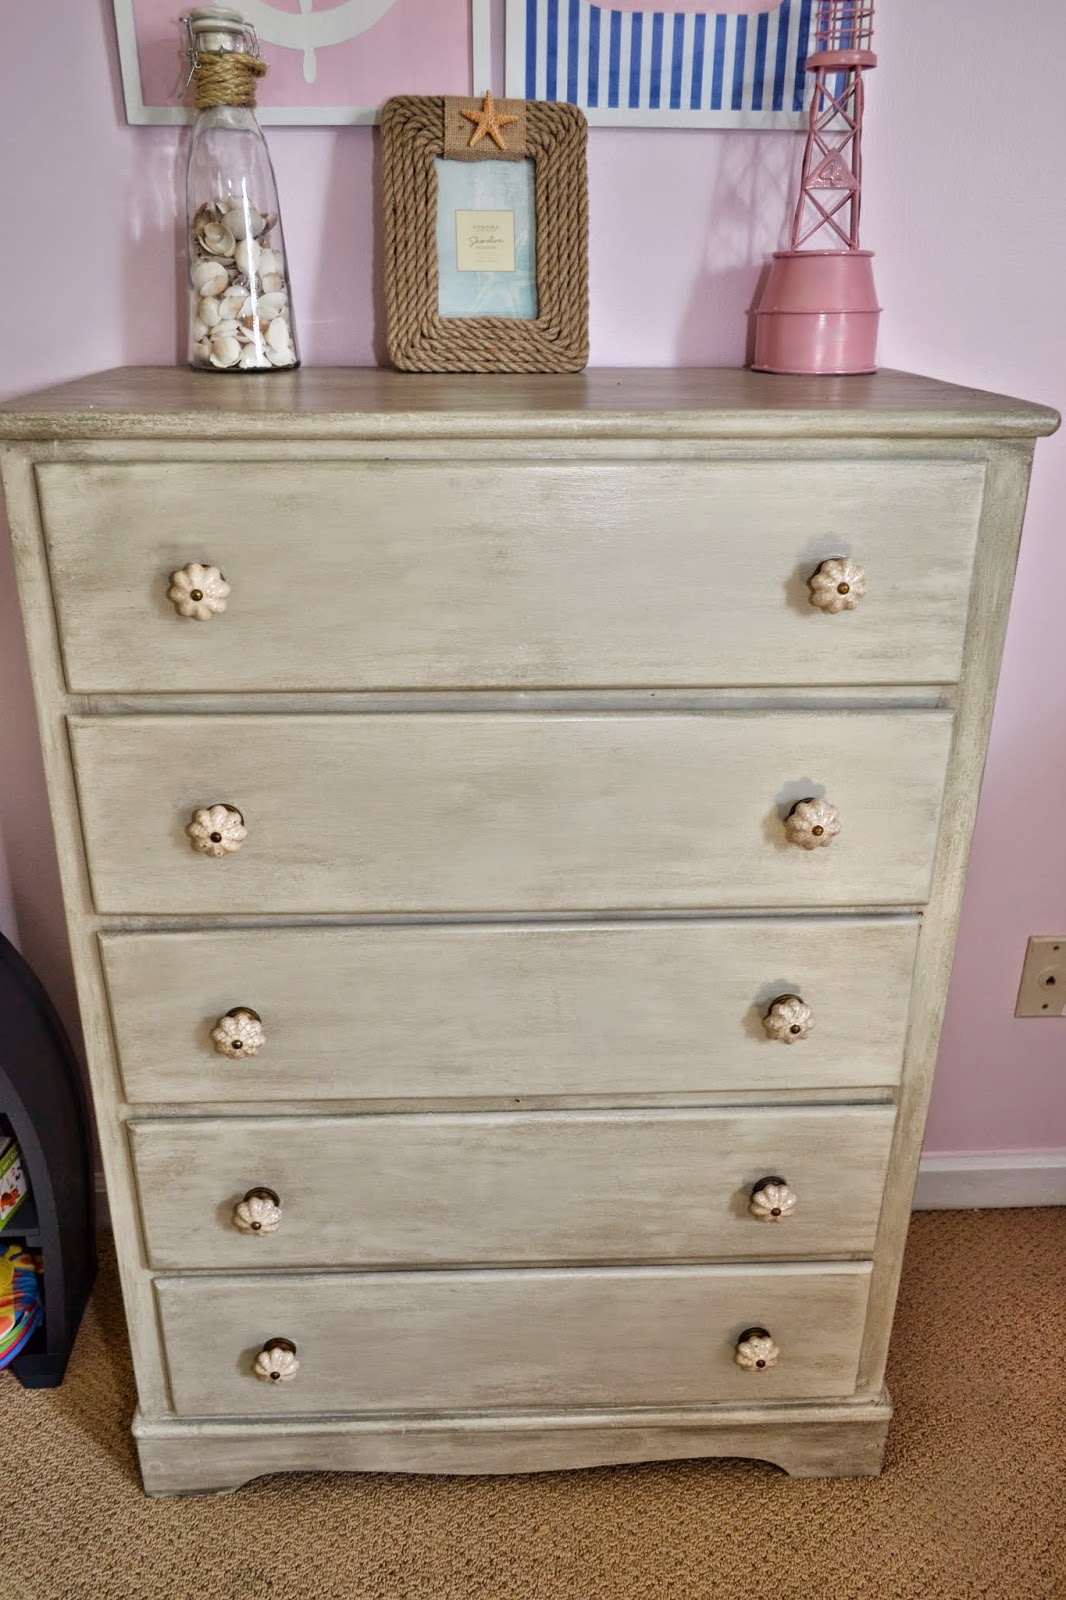
I wasn't sure how the knobs would look, but I was pleasantly surprised. They look shell-like & look pretty good up against the grey dresser.
Here is the finished dresser. It sits right beside the crib, so thank goodness I was successful in geting the paint color & the glazing to match it.
Here is the finished dresser once it had all of its "decorations" & "accessories". I am going to do a post on those soon, so check back in later. : ) Happy hump day everyone!


No comments:
Post a Comment